Opni Installation
There are a few different ways to install Opni. We recommend installation through the Rancher UI.
Installation of Opni will give you the following:
- Opni Gateway - the component that agents will communicate with to establish a connection between upstream opni and downstream opni agents
- Opni Admin UI - the dashboard that is used to create and manage backends, SLOs and downstream Opni agents
Prerequisites
cert-manager
Install cert-manager using one of the following methods, or check out the official documentation here.
Install using kubectl apply with static manifests
kubectl apply -f https://github.com/cert-manager/cert-manager/releases/download/v1.10.0/cert-manager.yamlInstall using helm
helm repo add jetstack https://charts.jetstack.iohelm repo updatehelm install \
cert-manager jetstack/cert-manager \
--namespace cert-manager \
--create-namespace \
--version v1.10.0 \
--set installCRDs=true
- Installation using Rancher UI
- Installation using Helm
- Installation using Pulumi
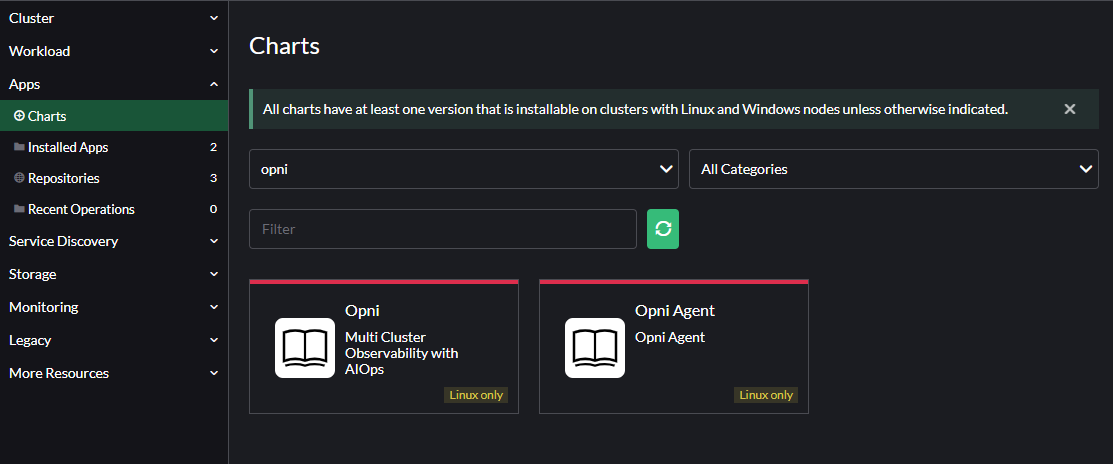
Opni provides GitHub charts repository that can be used with the Rancher UI. To add the charts, navigate to Apps -> Repositories in the Rancher UI. Name the repository and select the 'Git repository containing Helm chart or cluster template definitions' option.
Enter the following git url:
https://github.com/rancher/opni.git
And the following branch:
charts-repo
Once the repo has updated you should be able to find Opni in the list of charts.
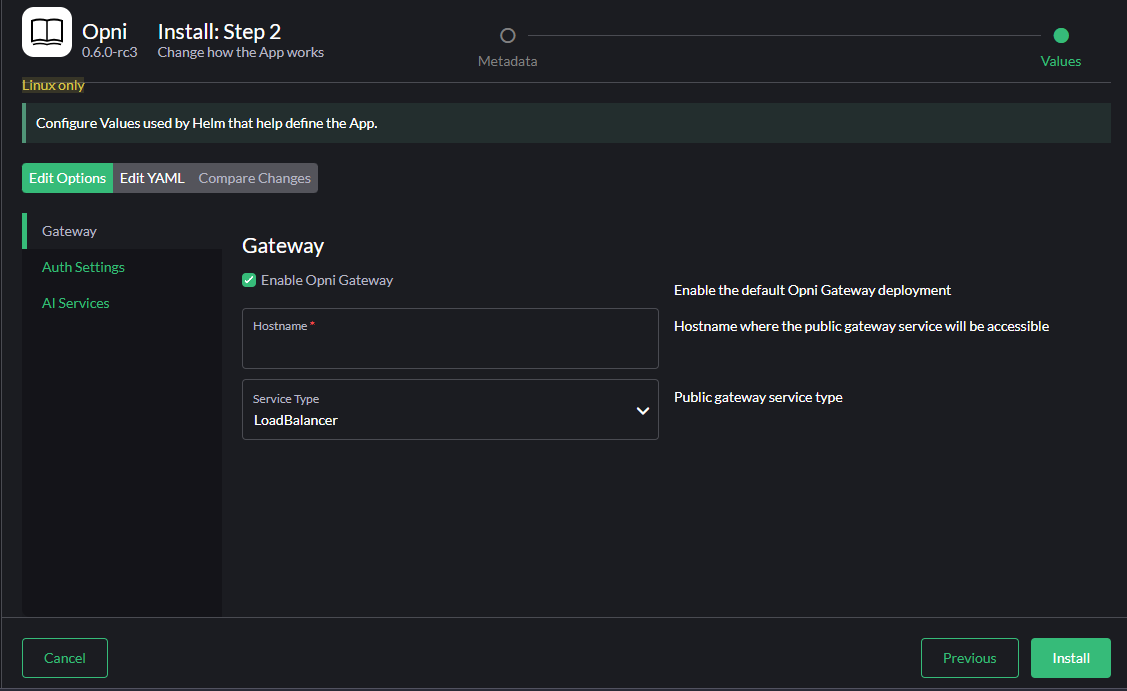
To install Opni, follow the prompts in the UI. The most important setting is the Gateway Hostname. This is the hostname that agents will use to connect to the Opni Gateway. By default this is created as a Load Balancer service, but you may also place an ingress in front of it if your cluster does not support Load Balancer services.
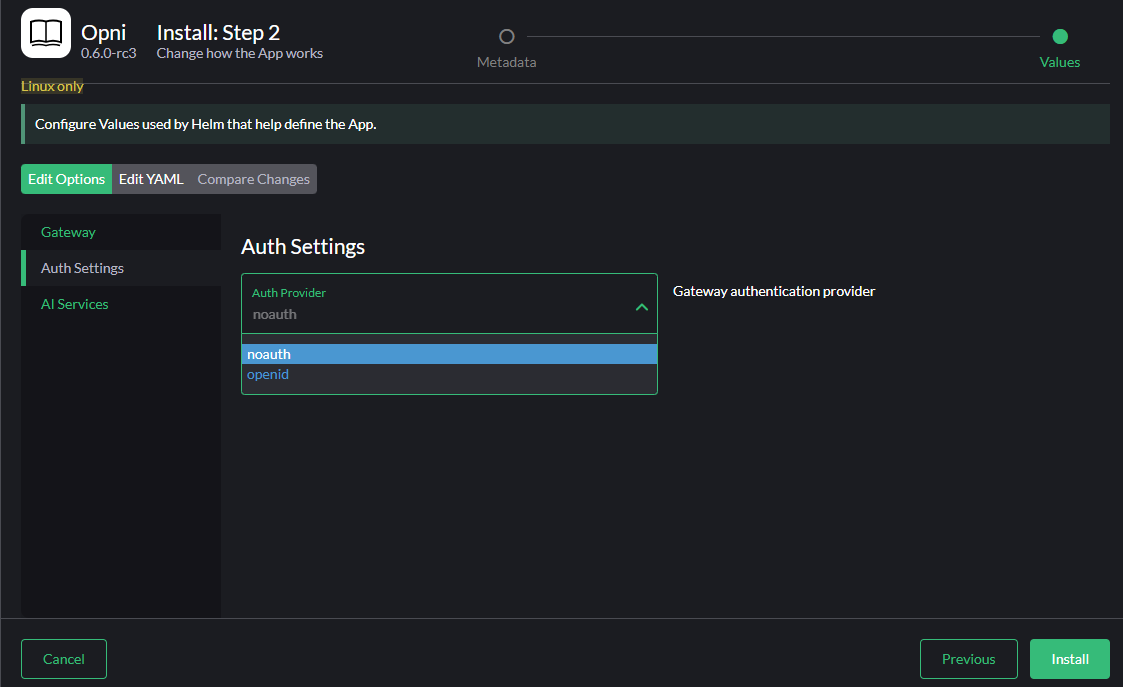
Under the Auth Settings tab you may select the default noauth provider, or otherwise select openid and provide details for an external auth provider.
Once satisfied with the options, click Install.
Chart configuration
See below for a sample values.yaml file. Edit the file with your own values.
gateway:
  # Set a hostname for the Opni Gateway API. This must be accessible to all agents.
  hostname: # required
  auth:
    # Set an auth provider. Available options are "openid" and "noauth".
    provider: "openid"

    # If using the "openid" provider:
    openid:
      # discovery and wellKnownConfiguration are mutually exclusive.
      # If the OP (openid provider) has a discovery endpoint, it should be
      # configured in the discovery field, otherwise the well-known configuration
      # fields can be set manually. If set, required fields are listed below.
      discovery:
        # Relative path at which to find the openid configuration.
        # Defaults to "/.well-known/openid-configuration".
        path: "/.well-known/openid-configuration"

        # The OP's Issuer identifier. This must exactly match the issuer URL
        # obtained from the discovery endpoint, and will match the `iss' claim
        # in the ID Tokens issued by the OP.
        issuer: ""  # required

      # The ID Token claim that will be used to identify users ("sub", "email", etc.).
      # The value of this field will be matched against role binding subject names.
      # Defaults to "sub".
      identifyingClaim: "sub"

      clientID: ""  # required
      clientSecret: ""  # required

      # OAuth scopes that will be requested by the client. Defaults to ["openid", "profile", "email"].
      scopes: ["openid", "profile", "email"]

      # https://grafana.com/docs/grafana/v9.0/setup-grafana/configure-security/configure-authentication/generic-oauth/#roles
      roleAttributePath: # required

      # Optional manually-provided discovery information. Mutually exclusive with
      # the discovery field (see above). If set, required fields are listed below.
      wellKnownConfiguration:
        issuer: ""                  # required
        authorization_endpoint: ""  # required
        token_endpoint: ""          # required
        userinfo_endpoint: ""       # required
        jwks_uri: ""                # required
        # revocation_endpoint: ""
        # scopes_supported: []
        # response_types_supported: []
        # response_modes_supported: []
        # id_token_signing_alg_values_supported: []
        # token_endpoint_auth_methods_supported: []
        # claims_supported: []
        # request_uri_parameter_supported: false

    # If using the "noauth" provider:
    noauth:
      # Set a hostname where the grafana dashboard will be accessible. This value
      # is the grafana oauth redirect URL for the noauth provider.
      grafanaHostname: # required

opni-agent:
  # Embedded kube-prometheus-stack chart. Only the following components will be installed:
  # - prometheus operator
  # - kube state metrics
  # - node exporter
  # - default service monitors and rules
  kube-prometheus-stack:
    enabled: true

opni-prometheus-crd:
  # set to false if `opni-agent.kube-prometheus-stack.enabled` is true
  enabled: false
More about auth providers
openid
Opni supports OpenID Connect for generic user authentication and authorization. Any OpenID Connect provider can be used.
Take the following steps to set up Opni with your OpenID Provider. Every provider is different, so you should consult your provider's documentation for more information.
- Create a new client ID and secret to use for Opni. These are set in the
gateway.auth.openidsection of thevalues.yamlfile above. - Add an allowed callback URL for
https://<your grafana url>/login/generic_oauth. - Add an allowed logout URL for
https://<your grafana url>.
noauth
The noauth auth provider can be used for demo purposes or for testing.
How it works
This demo auth mechanism allows Opni to be its own OpenID Provider. When signing in to Grafana, instead of being redirected to an external OAuth provider, you will be redirected to a simple login page containing a list of all known users in the system (the set of all subjects in the current list of role bindings). Simply select the user you want to sign in as and you will be redirected back to Grafana, logged in as that user. All users will be a Grafana admin.
Installation
Add the Opni Helm repository:
helm repo add opni https://raw.githubusercontent.com/rancher/opni/charts-repohelm repo updateInstall the CRDs chart:
helm -n opni install --create-namespace opni-crd opni/opni-crdInstall the Opni chart:
helm -n opni install opni opni/opni -f values.yaml
Upgrading
Upgrade the Helm chart:
helm repo updatehelm -n opni upgrade opni opni/opni -f values.yamlIf necessary, restart the
opni-managerdeployment:kubectl -n opni rollout restart deployment opni-manager
You can use Pulumi to install a production-ready Opni cluster on AWS.
Prerequisites
The following tools are required:
Setup
Click the button below to get started:
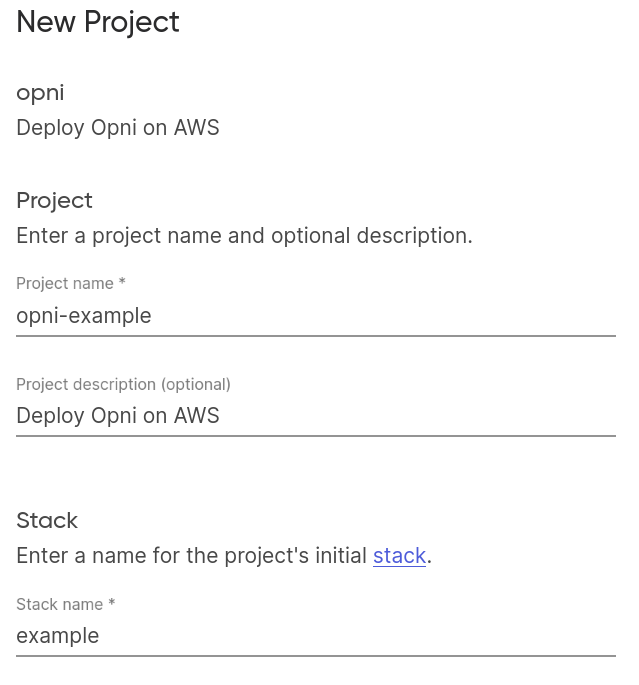
Once you reach the "New Project" screen, give your project and stack a name:
Configure EKS cluster settings, including node group size and instance type:
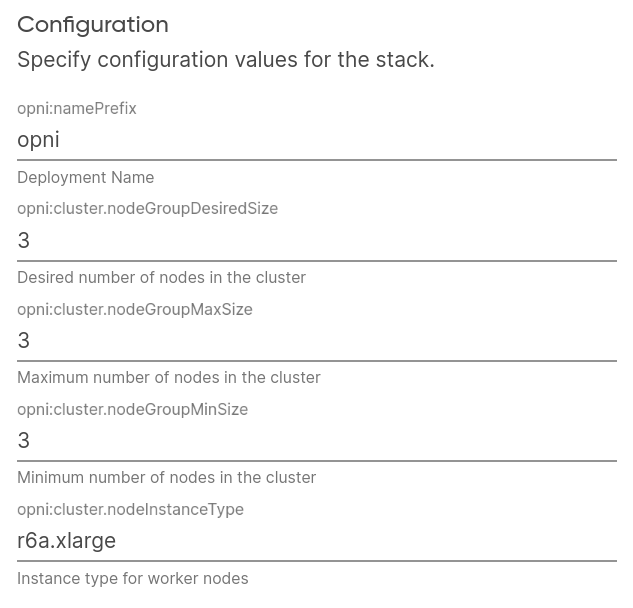
Lastly, set an existing Route53 Zone ID where DNS records will be created, and choose an AWS region:

You can find your Route53 Zone ID in the AWS console, under "Hosted Zones":

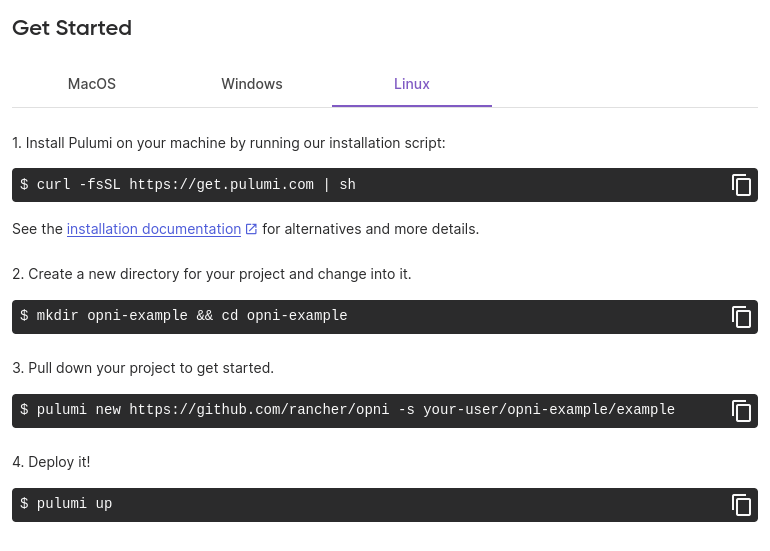
On the next page, follow the provided instructions to launch your stack. Before running pulumi up, you can view or modify any settings using the pulumi config commands, or by editing infra/Pulumi.<stack-name>.yaml.
Available config options:
| Name | Description | Default | |||
|---|---|---|---|---|---|
aws:region | AWS region to deploy to | us-east-2 | |||
aws:skipCredentialsValidation | Skip AWS credentials validation | true | |||
aws:skipRequestingAccountId | Skip requesting AWS account ID | true | |||
opni:chartVersion | Chart version to deploy | latest version available | |||
opni:chartsRepo | Opni chart repository | https://raw.githubusercontent.com/rancher/opni/charts-repo/ | |||
opni:imageTag | Opni image tag | latest | |||
opni:minimalImageTag | Minimal image tag (used for agents) | latest-minimal | |||
opni:namePrefix | Prefix for Opni resources | opni | |||
opni:zoneID | Route53 Zone ID to create DNS records in | (required) | |||
opni:tags | Tags to apply to all resources | {} | |||
opni:cluster | | Name | Description | Default | | |
nodeInstanceType | Instance type for EKS nodes | r6a.xlarge | |||
nodeGroupMinSize | Minimum number of nodes in the EKS node group | 3 | |||
nodeGroupMaxSize | Maximum number of nodes in the EKS node group | 3 | |||
nodeGroupDesiredSize | Desired number of nodes in the EKS node group | 3 | |||